

· By Molly Quach
2023 Crafty Advent Calendar Countdown
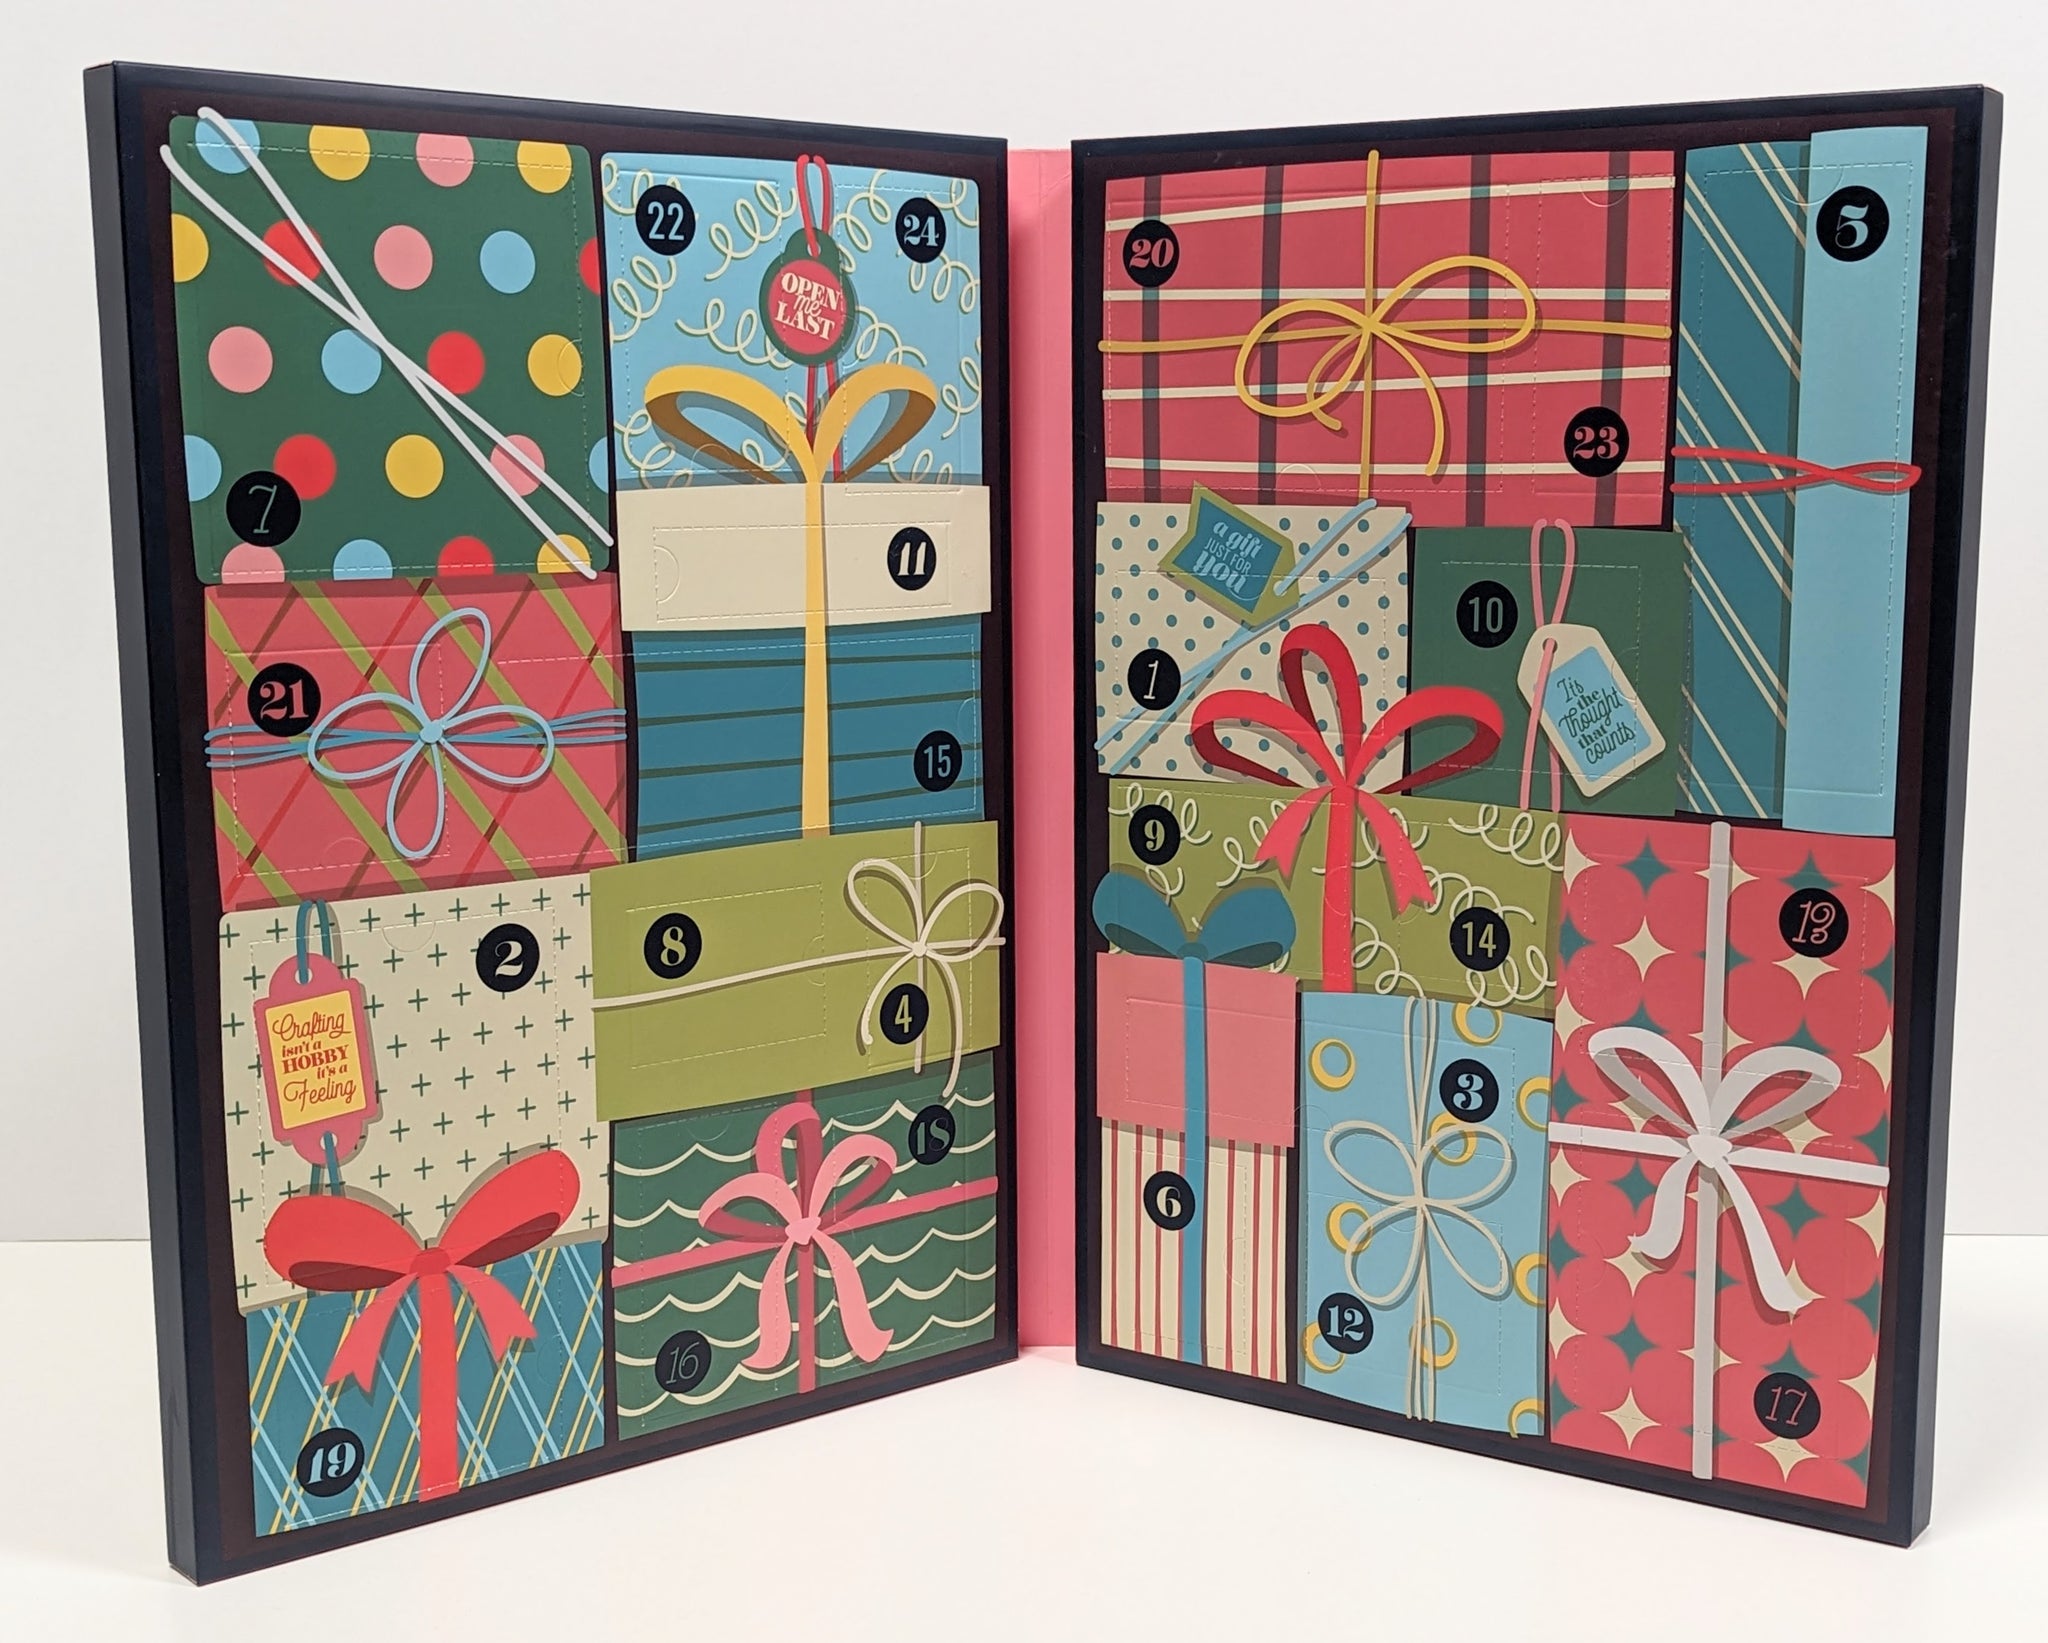
Spoiler Alert! I'm breaking into Spellbinder's Crafty Advent Calendar and doing a countdown to Christmas. Grab your 2023 Crafty Advent Calendar and craft along!
And, we're off and crafting!

Day 1
The countdown starts off with a car and present die set.
This card was created taking a piece of Pine Color Vibe cardstock and cutting it to 8"x4". Score and fold at 4" to create a top fold card. Add a warm white square cut to 3.5"x3.5". Stamp a sentiment and add the car and present. A sweet and simple card to show you care and to start off this holiday countdown.
Additional supplies used to create this card include Simple Stories Color Vibe cardstock in Pine, Warm White, Brick and Black; Spellbinders brushed silver and brushed gold cardstock and Hero Arts Winter Foliage Stamp & Cut XL stamp and die set. Black ink was used to stamp the sentiment.

Day 2
The second day of Christmas brings us a sweet flower stamp and Sending Good Thoughts sentiment.
This card base was created using the Catherine Pooler Dots & Scallops die set. Cut 2 of the largest scallop frame from black and 2 medium dotted rectangles from white. Take one of the white pieces and stamp the flower and sentiment with Hero Hues Pigment ink in Onyx and then sprinkle with embossing powder and heat. The flower is colored in using Catherine Pooler party inks - Cranberry Fizz, Glam, Glitz, Deck the Halls, Martini and Flame and a blending pen. Smoosh a small amount of the ink pad on a non-porous service. Use the blending pen to pick up the ink and transfer it to the image. Start with lighter colors and make sure to clean off the blending pen before moving to the next color.
To create the base, center and adhere the 2 white pieces to each of the black scalloped rectangles - being careful to let the ink dry. Scor the black scallop piece at with the plain white card at 2 scallops from the top. Put adhesive above the scor line and attach to the back side of the other black piece.
Finish the card with a few black gems.

Day 3
On the third day of Christmas, we have a stained glass border.
Changing the color pattern changes the look of this die. But since we're in the Christmas season, I went for a Christmas color palette. I started by cuttin a piece of Carnival Red to 4 1/4" x 11", scoring at 5 1/2" and folding. I used Best Ever Craft Tape to hold the scalloped border die along the bottom edge, about 1" up. Lay the paper flat and run it through a die cut machine. Run the stained glass border die through a die machine twice - once in brushed gold and once with Pine Color Vibe. Adhere the brushed gold along the bottom edge and fill in with the Pine pieces.
Finish the card with a sentiment. This one is from the LDRS Large Word Christmas Dies set. The inside is finished with a piece of Pine cut to 8 1/4" x 1 1/4". Add a piece of 1/4" x 8 1/4" piece of brushed gold flush with the top of the Pine strip.


Am enjoying my advent calendar and thanks for the tips on what to make with them.
Peg Seliga on