
· By Molly Quach
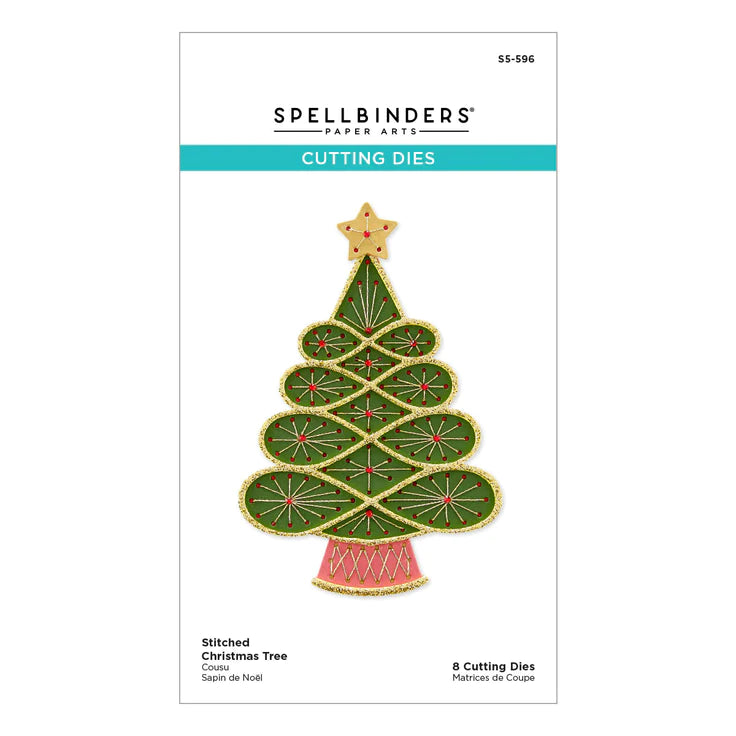
1 Die 5 Ways - Spellbinders Stitched Christmas Tree Etched Die
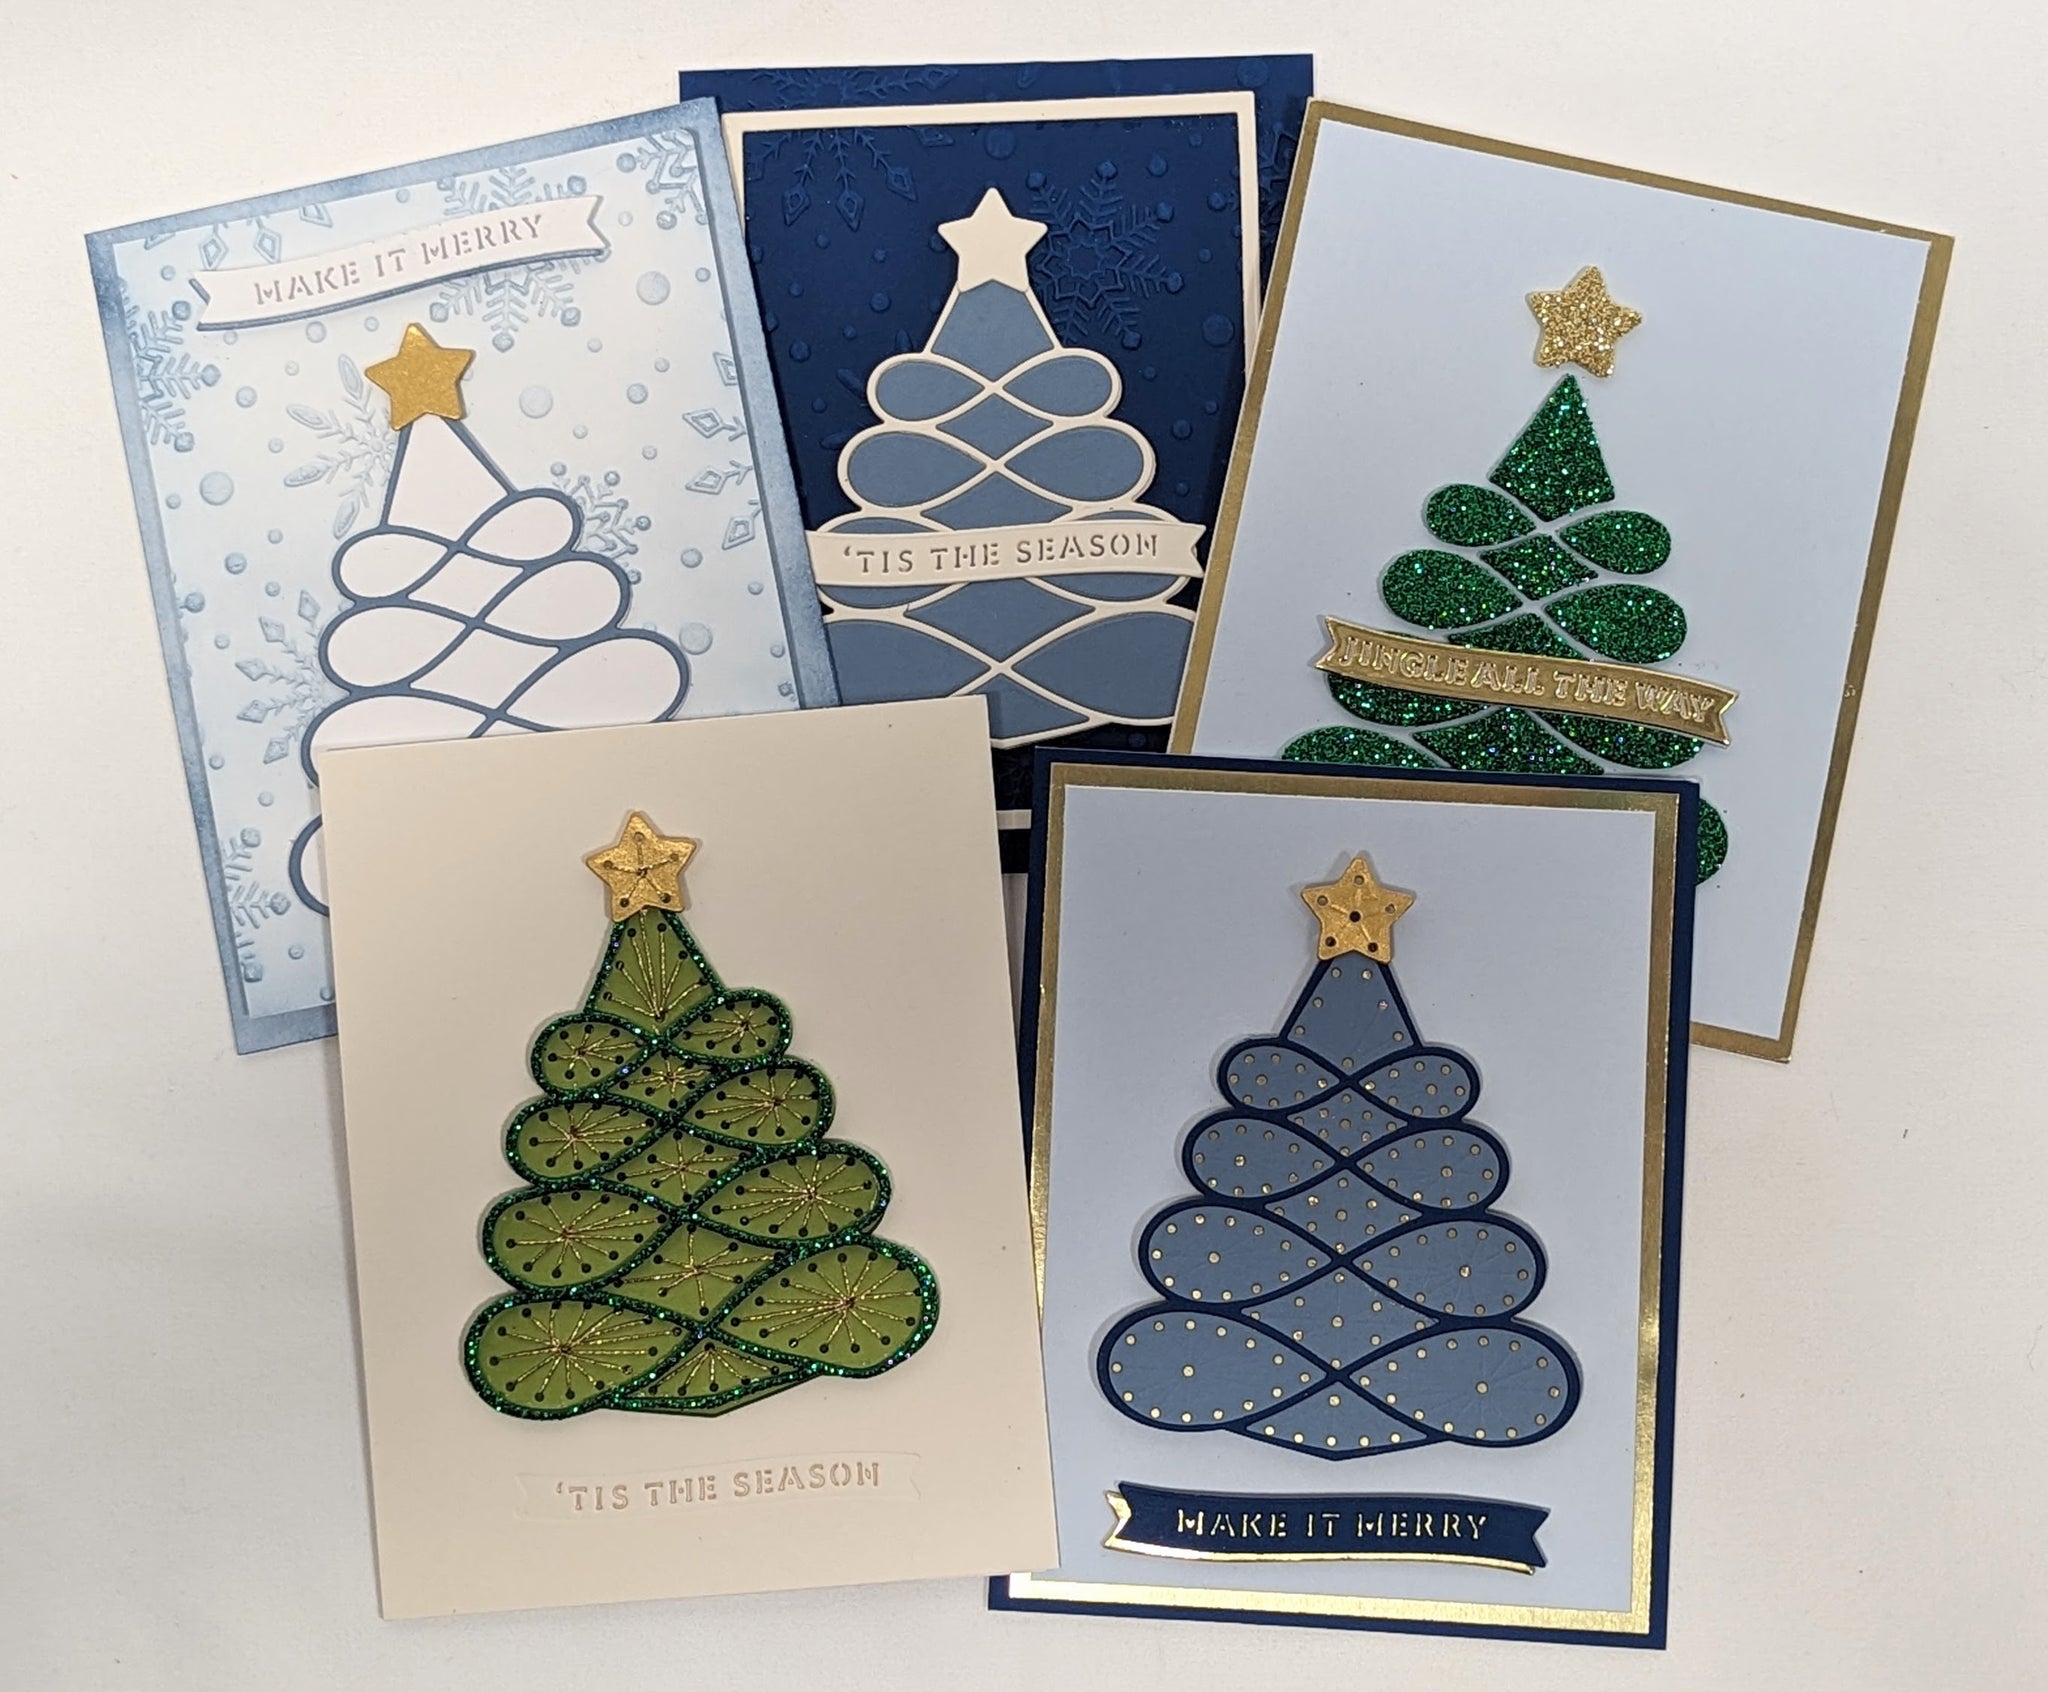
A stitch in time saves 9. OK, I'm dating myself with that one. But what about a stitched die used 5 different ways creates 9 cards? Hmmm, now I've got your attention!
Whether you love to sew or can't sew on a button, you'll love the looks you can achieve with Spellbinder's Stitched Christmas Tree etched die. Best of all - no sewing required (at least for 4 of the designs).
Stitched Christmas Tree Die

The Spellbinders Stitched Christmas Tree die set includes 8 pieces - the tree outline, the stitching plate and the loopy tree detail. There is also a star outline and star stitching die. Finally, there is the tree base with the outline, stitching die and trim.

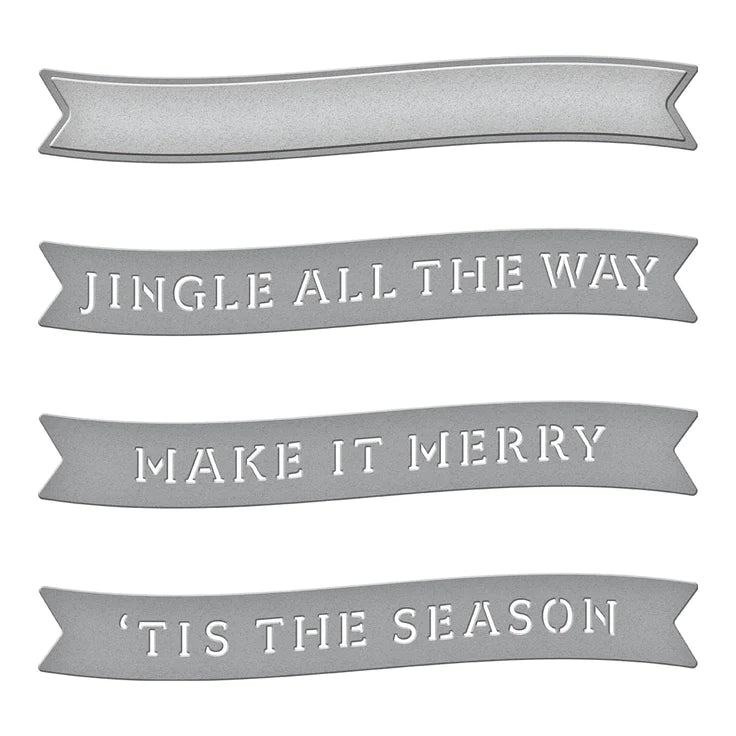
Several of the cards were completed with this simple and sweet sentiment die set - Spellbinders Make It Merry Sentiments Etched Dies.
Note: All items (except the Diamant Thread and needles) used in the following cards can be found here: Shop the Collection. All cardstock used is Spellbinders Color Essentials 8 1/2 x 11" cardstock.
The Diamant Thread and needles can be found at Michaels or where embroidery thread is sold.
A Couple Quick Tips

When die cutting the stitching pieces, center the stitching die inside the outline die and hold in place with a piece of low-tack tape such as Spellbinder's Best Ever Craft Tape. Do the same thing for the star (not pictured).
Also, when cutting with the loopy tree detail die, save the insert pieces. They make great filler pieces.
All card bases are 8 1/2" x 5 1/2" white cardstock folded to 8 1/4" x 5 1/2".
Moving on to the cards and this is a stitched die, so we're starting with the stitching followed by a stitching tutorial. If this isn't your thing, keep scrolling, there are 4 more that don't require a stitch!

1 - Stitching
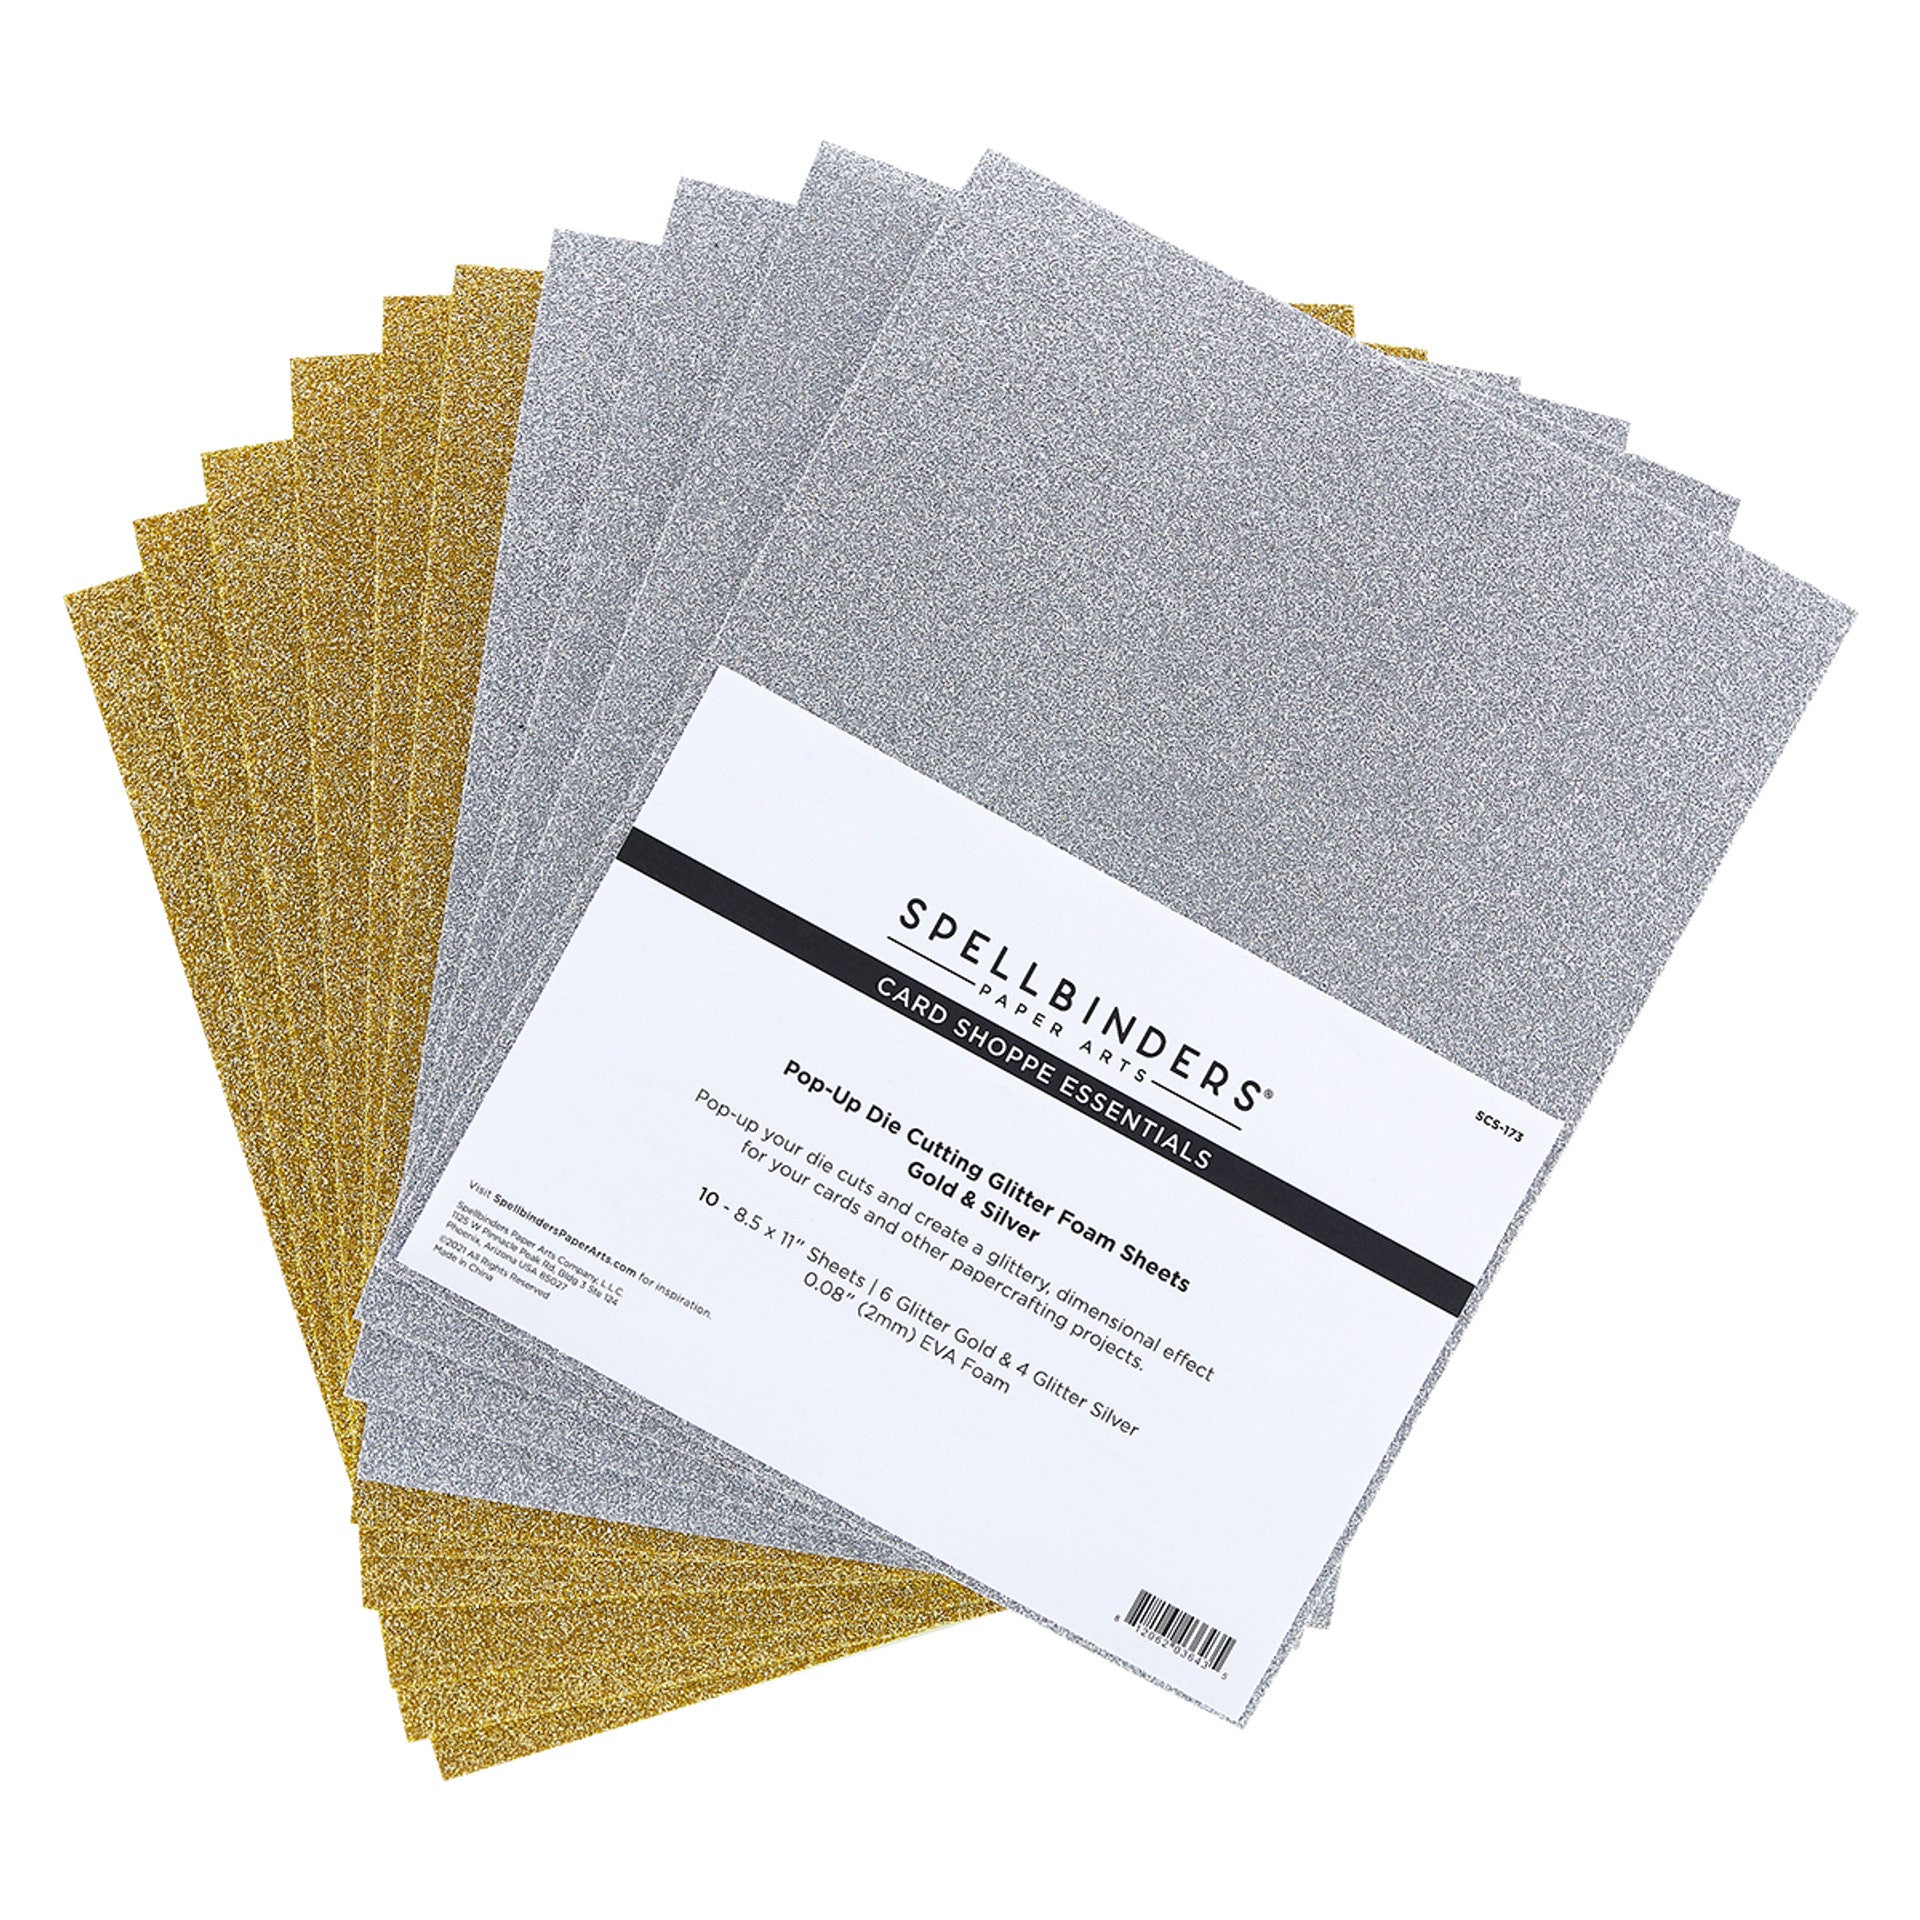
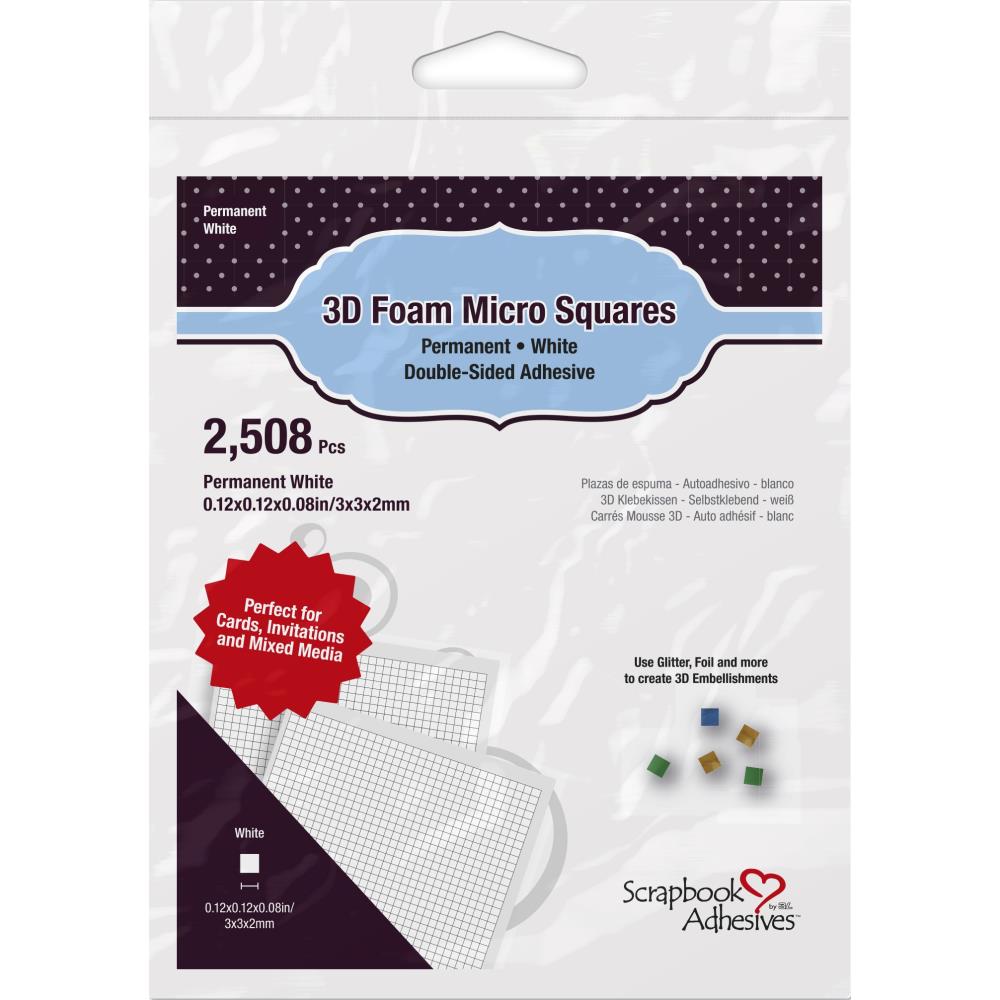
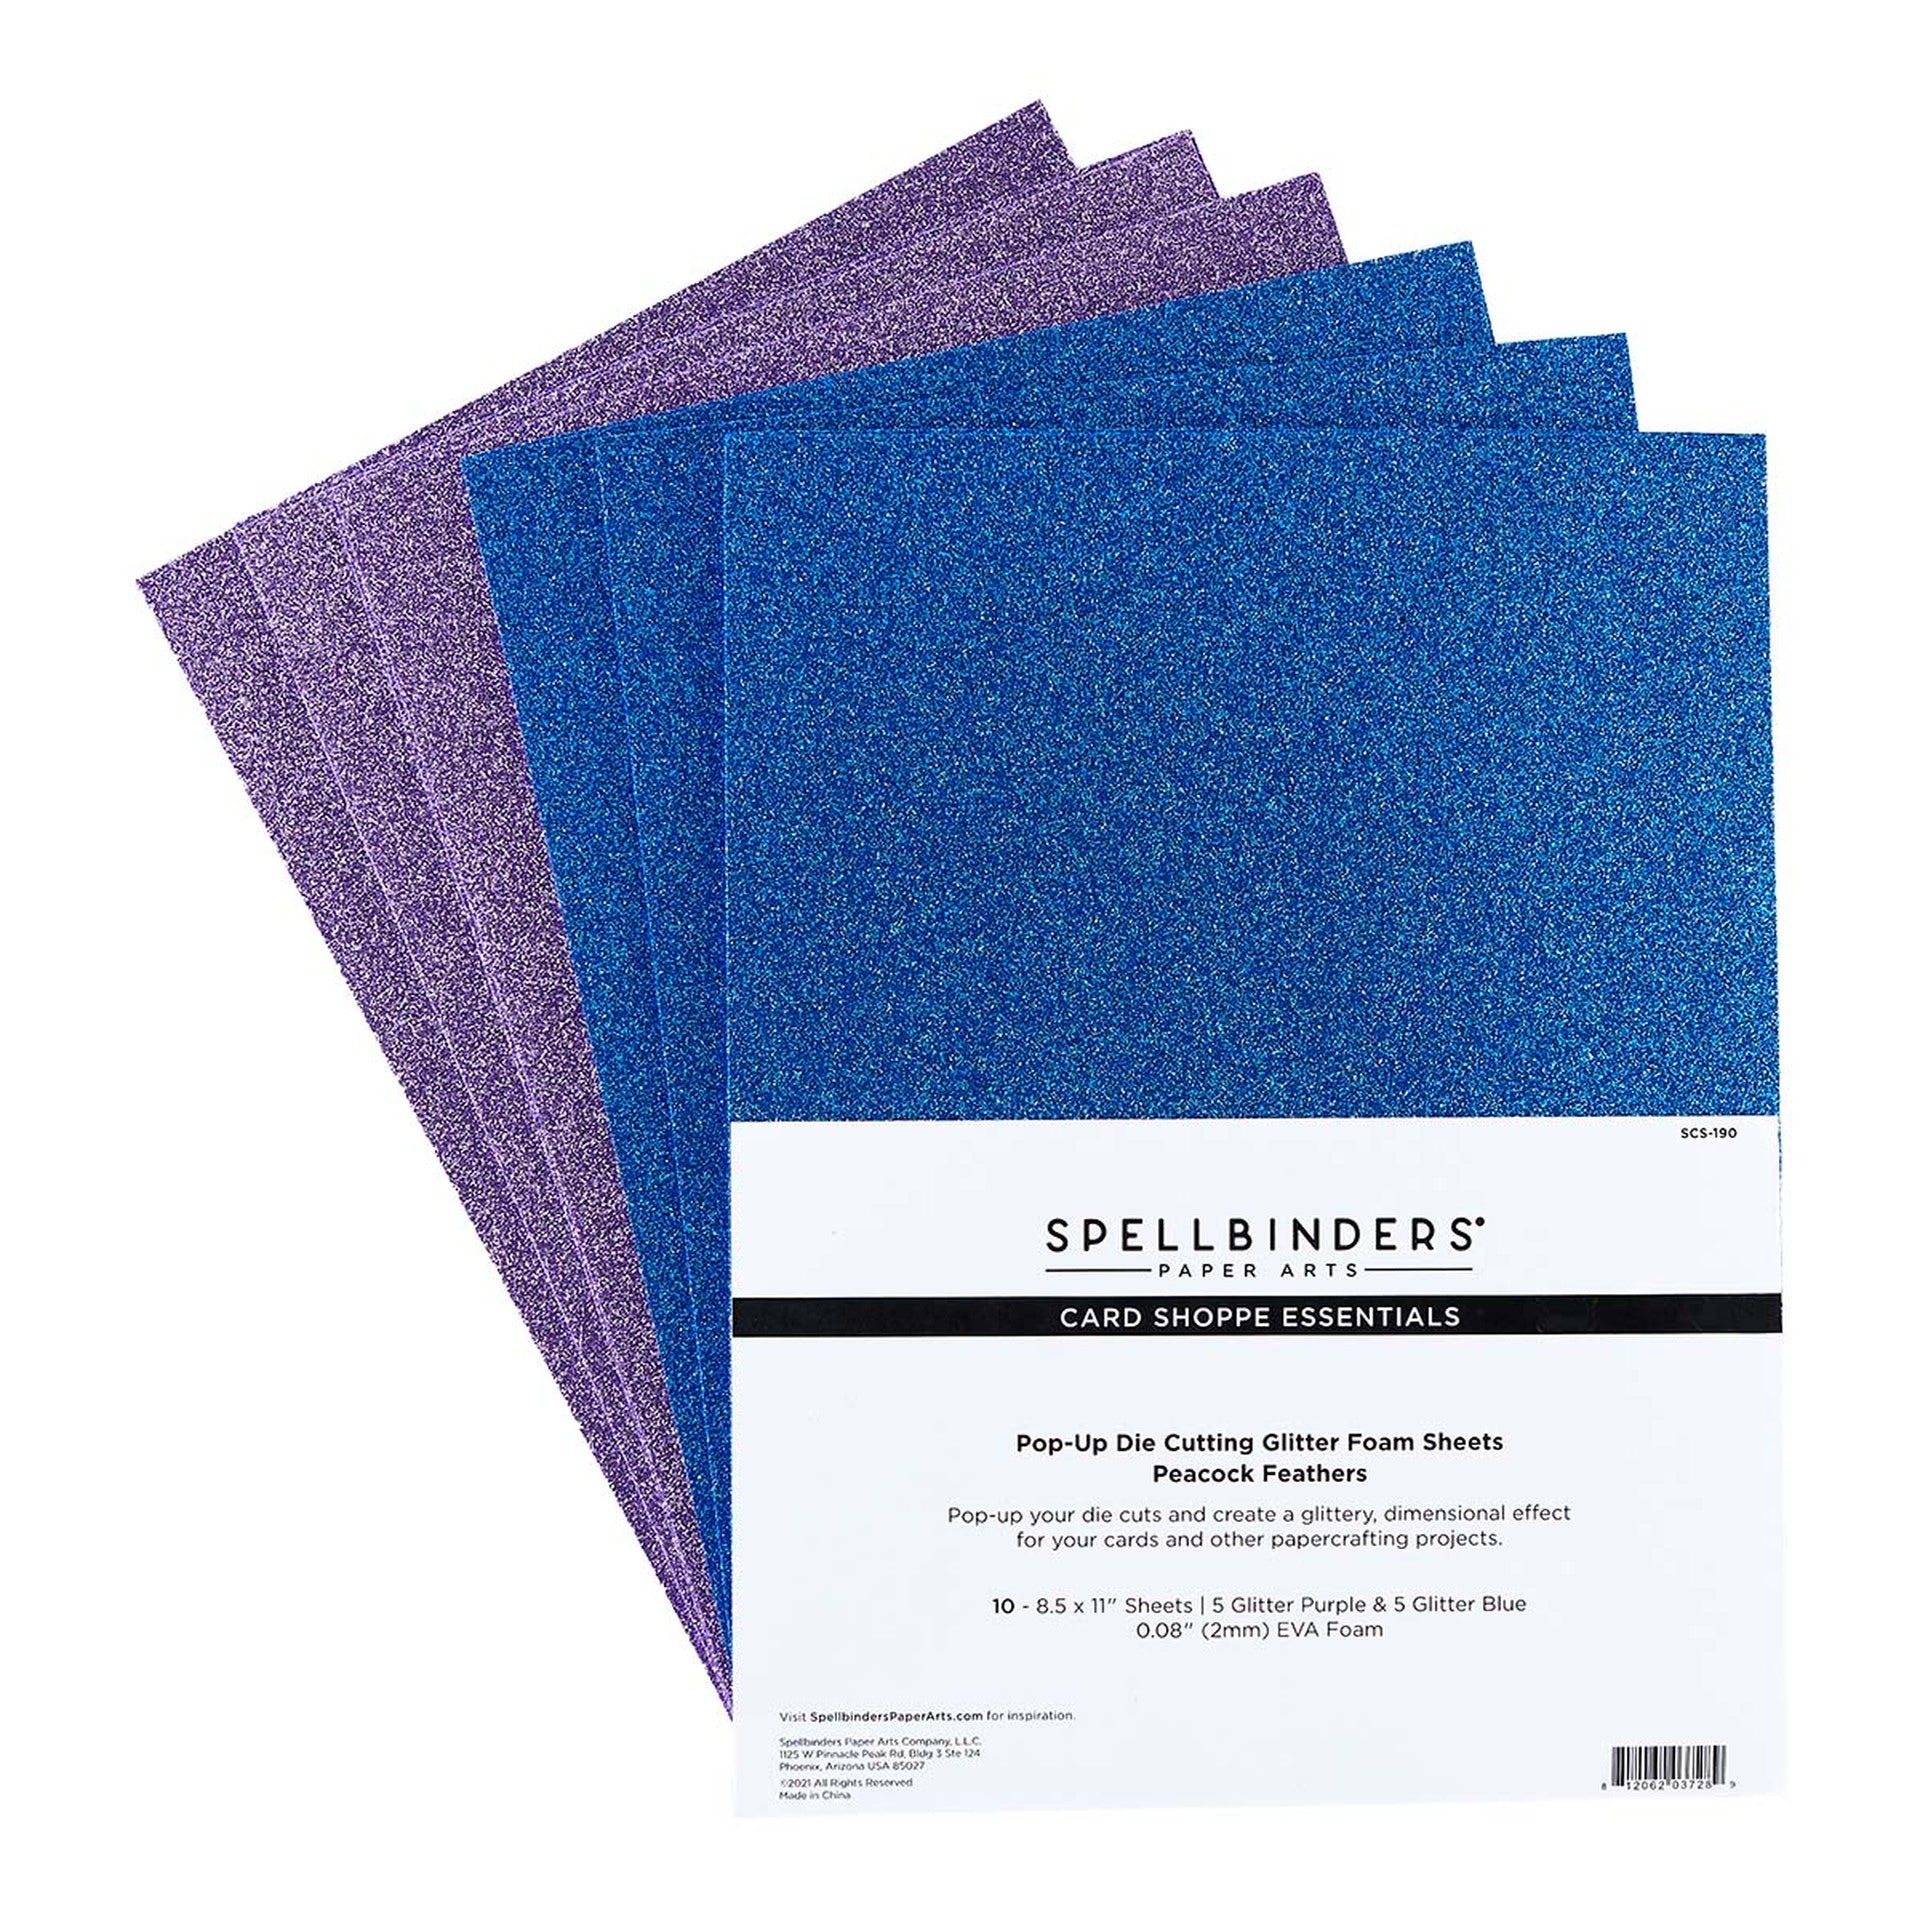
We can't talk about stitching dies without starting with stitching. Both of these were stitched using DMC Diamant Metallic Thread and a size 22 needle with a round end. The trim was die cut from Spellbinders Glitter Pop Up Foam. This adds glitter and dimension to the trees.
The left card uses Peridot and Cosmic Sky cardstock finished with Glitter Blue pop-up foam. This card includes the base with the trim piece cut from blue glitter foam. There star was also cut from the blue glitter foam and stithed.
The card on the right uses Rainforest and Brushed Gold cardstock and is completed with Glitter Green pop up foam. The star is stitched.
On both of these cards, stitch the tree first and then add then adhere the loopy decoration piece on top.
Die cut the sentiment directly on the card base. Tip: Assemble the tree and determine where it should be placed on the card, but do not adhere it. Use a temporary tape, such as Spellbinders Best Ever Craft Tape, to hold the die in place and run it through your die cut machine. However, you don't want too big of a piece of tape as the extra tape can make an impression on your card base.
Stitching Tutorial
Here is a quick stitching tutorial to get you started.

The Diamant thread is thin enough that you don't need to separate the thread, you can use it as is. But if you're using a regular embroidery thread, you may want to separate it and use 2 strands at a time.
Cut approximately a yard of Diamant thread and thread the needle.
Notice on the die that the stitching pattern is imprinted on that cardstock. Start in the center of each design and continue stitching from the center until that design is finished.

I find it is easiest to start with the top section first. I started in the center hole and went to one of the holes.

On the back of the die cut piece, use a small piece of Best Ever Craft Tape to hold the end of the thread in place.

Continue stitching with each stitch coming from the center hole. You don't need to go in order around the design. It's actually better to skip holes instead of doing holes next to each other.
As you sew, make sure the thread stays tight, but not too tight that the thread is tearing or bending the paper.


Continue stitching the top section until it is complete. Do not cut or secure the thread. Instead, move to a nearby design and start stitching from the center hole.


Continue stitching the next design, always coming out of the center hole. Follow the impressions or look at the die if you get confused about which holes are part of which designs.
Continue stitching in this manner until the thread becomes too short to work with.

When you need to change the thread, cut another piece approximately 1 yard long. Use a piece of tape to secure both the old piece and new piece of thread in place and continue stitching with the new piece. Be careful not to cover any of the holes. Trim the tail of the old thread if it hangs outside of the die cut piece.


When you've completed all of the stitching, put the needle under some of the stitches and pull the thread through. This will help secure the thread. Tape and trim the tail of the thread to complete.

You've completed stitching! You can use this on your cards or you can add the loopy detail piece. That's another option for you!
Keep reading for more options with this die set that don't include stitching.

2 - Stitch Die - No Stitching
For this card, I used the stitching die (stitching die centered & taped in the outline die) to cut the Partly Cloudy cardstock. I cut an outline from Gold Mirror metallic cardstock and adhered the Partly Cloudy to the mirror cardstock. When adhereing these pieces together, use a liquid adhesive and be careful not to get the adhesive in the holes.
The detail piece is cut from Cosmic Sky and adhered on the Partly Cloudy.
Cut the sentiment (sentiment die centered & taped in the banner die) out of Cosmic Sky and attach it to a banner piece (cut from mirror gold).
The base of the card starts with Cosmic Sky (4 1/4" x 5 1/2"). Center and adhere a piece of Mirror Gold (4" x 5 1/4). Top it with Glacier (3 3/4" x 5").
Use foam tape to pop up the tree and sentiment.
Top the tree with a star. This one was cut with Brushed Gold, but could have been cut with Mirror Gold. Another option is to cut a background star and then adhere the stitched star to the solid background star.

Loopy Detail
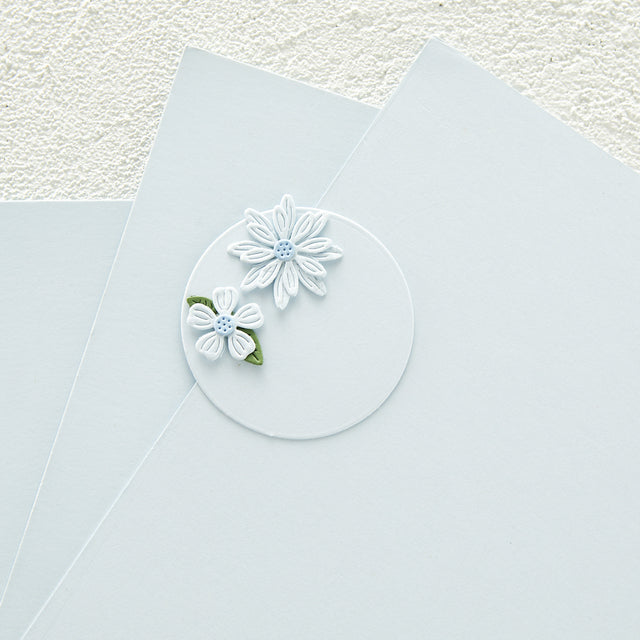
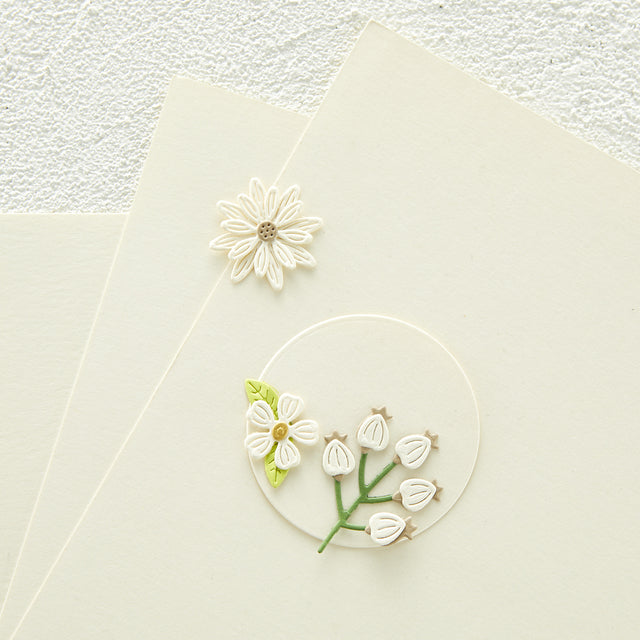
The loopy detail die is my favorite. It's a fun twist on the traditional Christmas tree. Color it like a rainbow, keep it one color or make an ombre - it's all fun and festive!
For both of these cards, I suggest cutting a background die from a neutral cardstock. Attach the loopy detail to the background and then fill in the pieces. Starting with the background piece provides more stability, makes it easier to work with and allows you to use foam tape to pop it up off of the card base.
The card on the left was cut from Brushed Gold (outline) and (from top down) Poppy Field, Barely Peach, Saffron, Peridot, Waterfall, Cosmic Sky and Lilac.
The star is cut from Glitter Gold pop up foam and the sentiment is cut from Brushed Gold.
The card base is embossed using the Deco Holiday Embossing Folder.
The card on the right starts with a Cosmic Sky base embossed with the Flurry of Snowflakes 3D Embossing Folder. The Alabaster frame was cut using 2 of the rectangle dies from the Precision Layering A2 A etched die set. This piece was then adhered on top of the embossed base.
The tree is cut from Alabaster and Partly Cloudy.

Loopy Detail Only
These cards were created with the loopy detail piece as the focal point.
The card on the left starts with a white base and a white mat.

The white mat is embossed with the Flurry of Snowflakes 3D Embossing Folder. Note - if you want the inked edges to be more defined, trim to 3 7/8" x 5 1/8" before inking.
Use a blending brush and Cove Blue (Catherine Pooler) ink to ink the edges of the card base. The embossed snowflake mat is lightly inked over with heavier ink on over the embossed snowflakes and outer edges. Trim to 3 7/8" x 5 1/8". Use foam tape to pop it up and attach it to the card base.
The detail die was cut from Partly Cloudy and piece of white cardstock was cut from the outline die. Attach the detail to the outline and pop up on the embossed snowflakes, leaving room for the sentiment and star. Brushed Gold was used for the star.
The sentiment is cut from white - both the sentiment and banner. The banner was inked with Cove Blue.
The card on the right has a classic, minimalist look. The base is Alabaster and the detail and sentiment was cut from Brushed Gold. Use liquid adhesive to adhere the detail to the base. Micro pop dots were used to pop up the sentiment.

Detail Insets
Use the loopy detail piece to cut Glitter Green pop up foam for this card. However, the outline piece will be used for positioning the pieces only.
Start with a base cut from Mirror Gold (4 1/4" x 5 1/2"). Center and adhere a piece of Glacer (4" x 5 1/4"). Note: to make the most of the Mirror Gold, cut the senitment from the center of the Mirror Gold card base. It will be covered and no one will know!
Use the detail outline piece to position the inset pieces, but do not adhere the outline piece. Use liquid glue to adhere the inset pieces. Top with a Glitter Gold foam star and the sentiment. Ooh - Sparkly!!!

Make it an Ornament
I promised 9 cards, but what about 8 card and an ornament! Technically, you could put sign the back and make it a card.
For this, I stitched Partly Cloudy with Diamant thread. Added Cosmic Sky Detail and stitched Brushed Gold Star.

To assemble, I cut two background pieces from Cosmic Sky. I adhered the stitched piece to one of the background pieces. I cut a small section of ribbon and adhered it to the back of the background piece. Add foam tape and attach the other background piece for a finished look.