
· By Molly Quach
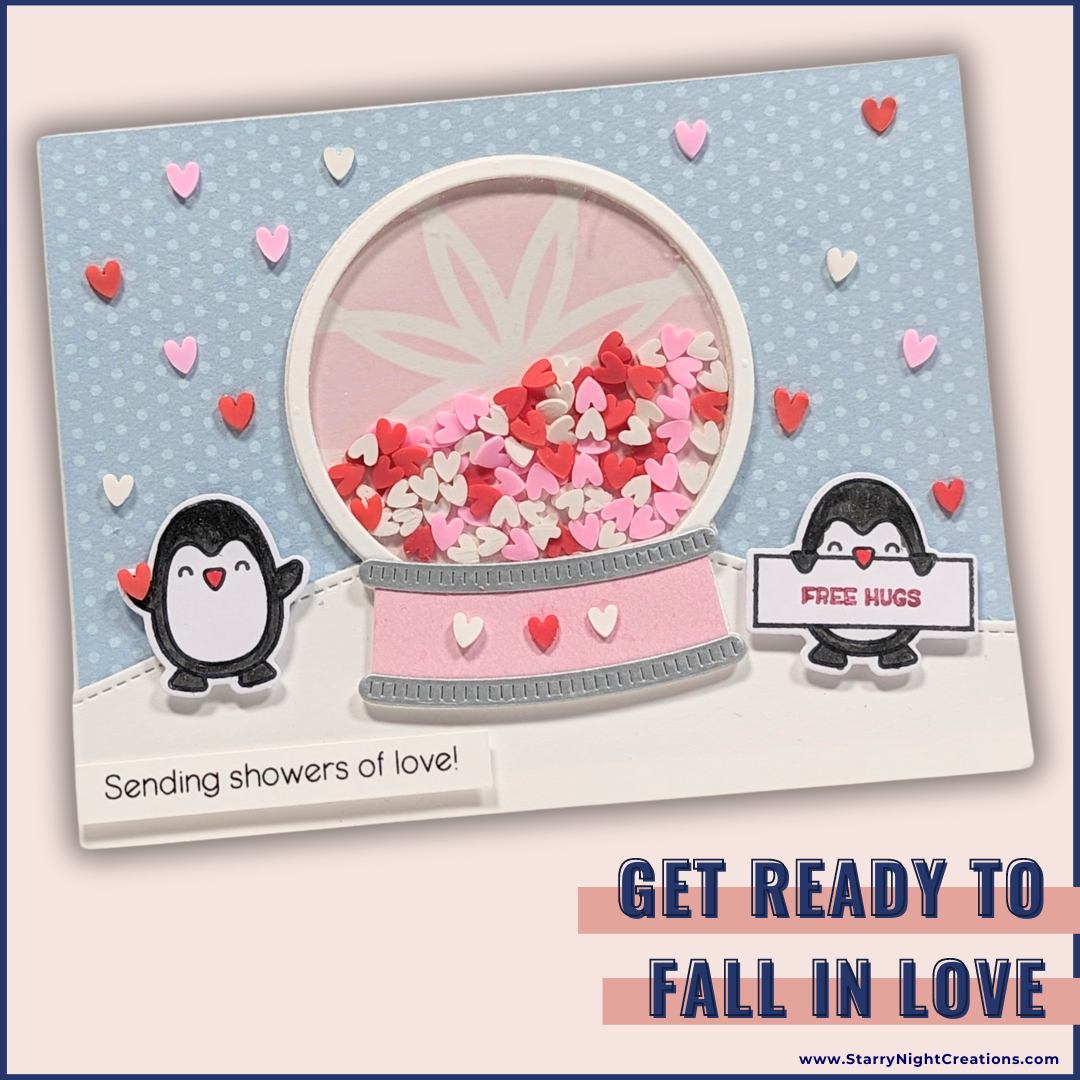
Showers of Love Shaker Card Tutorial
Love is all you need! Right? This love-themed shaker card is overflowing with love and cuteness. Who can resist the penguin and Free Hugs sign?
While supplies last, card packs are $5 or you can get the packet of supplies to create this card FREE with a $50 order (before tax and shipping, after discounts) at StarryNightCreations. No coupon code necessary - it will automatically be added to your order unless you add a note that you do not want the card pack.
Watch the video or follow the steps (below the video) to create this Showers of Love shaker card.
- White Cardstock
- Simple Stories Color Vibe Cardstock - Sky
- Simple Stories Color Vibe Cardstock - Peony
- Spellbinders Brushed Silver Cardstock
- Spellbinders Acetate
- Lawn Fawn Build-A-Snow Globe Die Set
- Lawn Fawn Penguin Party Stamp and Coordinating Die Set
- Lawn Fawn Stitched Hillside Borders Die Set
- Buttons Galore & More Sweethearts Shaker Pieces
- Catherine Pooler's Spirodahlia Stencil
- Catherine Pooler's Pink Champagne Ink
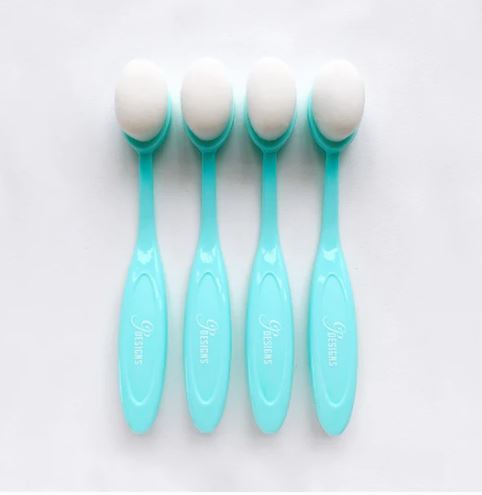
- Catherine Pooler's Blending Brush
- Altenew's Stampwheel
- Olo Marker W-G 7 - Warm Grey 7
- Olo Marker R 0.4 - Red Grapefruit
- Bearly Arts Liquid Craft Glue
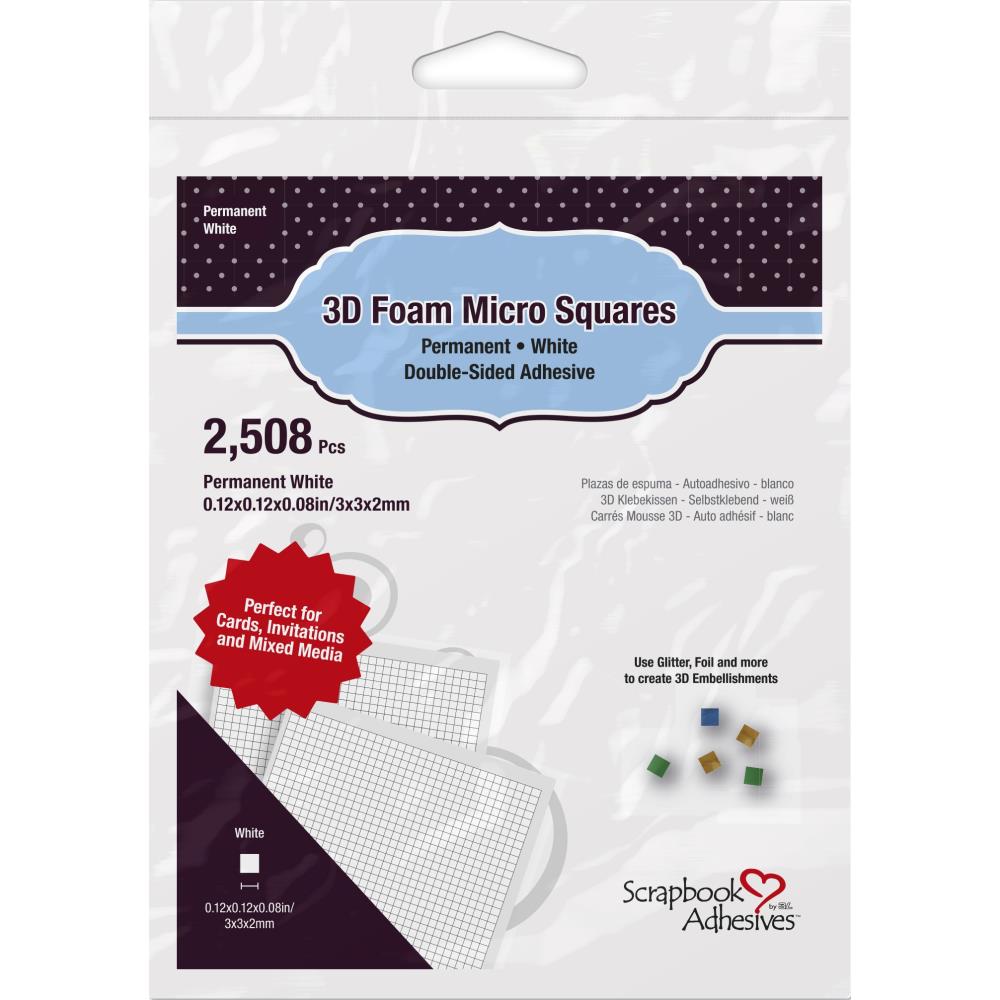
- Scrapbook Adhesives Foam Tape
- Tri Tray
- Jewel Picker or Wax Pencil
Start by cutting a card base to 8 1/2"x5 1/2". Fold so it is 5 1/2" wide by 4 1/4" tall.
Cut the Sky cardstock to 5 1/2" x 4 1/4" and adhere to the front panel of the card base. Note - if you received a packet of materials, the blue is cut to 4" instead of 4 1/4". Adhere so it is flush with the top fold. The bottom gap will be covered by the white hillside piece.
Next, adhere the white hillside piece flush with the bottom edge.
Stamp and die cut 2 penguins. Use the R 0.4 for the nose on each one and the W-G 7 Warm Grey for the black portion of the penguin. Note - if you die cut before coloring, you can put the die cut pieces on a sticky mat, such as the Stampwheel, or put them on a piece of temporary adhesive so you can hold them while coloring.
For the snowglobe, die cut 5 layers of the snowglobe frame (center of snowglobe is cut out), 1 snowglobe frame layer from Peony. The 2 curved strips (decorative snowglobe trim) die cut from brushed silver. Cut one piece of the full snowglobe outline from white cardstock and one from a sheet of acetate. If the acetate does not cut all the way through, cut it out with a scissors along the scor line created by diecutting it.
Take the piece of acetate and using liquid glue, adhere it to the backside of one white snowglobe frame piece. Set this aside to dry.
Take the remaining 4 snowglobe frames and using liquid glue, adhere the 4 pieces together.
Optional - but I feel adding some ink blending or a stencil design to the back panel of the shaker adds some interest to the shaker. If you don't have the stencil, you can simply ink the background or you can die cut the piece from the Peony cardstock. It is also fine to leave it white.
To stencil - take the solid white snowglobe piece and the Spirodahlia stencil. Tape them to a surface or use the Altenew stamp wheel to hold them in place. Tap the blending brush in the ink and then start off of the design and rub the brush in a circular motion over the cardstock. Repeat until you are happy.
Once the back is completed, use liquid glue to adhere the stack of 4 snowglobe frames glued together to the back piece of the shaker card.
Now we can finish the front snowglobe layer, the piece that is glued to the acetate sheet. Take the pink piece and trim off any pieces that extend into the circle of the snowglobe. You want it to be only the base. Adhere that to the front of the snowglobe and then adhere the 2 silver strips to the base. Note - one silver strip is shorter than the other. The shorter strip is adhered to the top of the snowglobe base while the longer strip is adhered to the bottom.
Adhere a few shaker heart pieces to the snowglobe base for extra decoration.
Place the snowglobe base on the card base, but do not glue it down. This is simply for placement at this point. Once you know where the snowglobe will be placed, you can adhere the rest of the background pieces. Optional - use foam tape to pop up the sentiment and penguins. Use liquid glue to adhere some hearts in the sky. A jewel picker or wax pen can help pick up and place the shaker pieces. Also, use liquid glue and dot the glue to the card panel and then place the shaker piece on the glue.
Finally, fill the shaker with hearts. You don't want to overfill. Adhere the front panel to the shaker and then glue the shaker to the background to complete your card.
Yay! Happy shaking!